Every photographer faces it. That shot that is great, but ruined by an object in the image that takes your eye away from the things you want people to look at.
I am sure everyone does this differently, but I thought I would take a few minutes to discuss how I approach it.
Let's start with a picture. This image is from my son's wedding. A pretty shot of them taking their vows, but all I can see in the image is that damn video tripod. A necessary evil, but I don't want it in my shot.
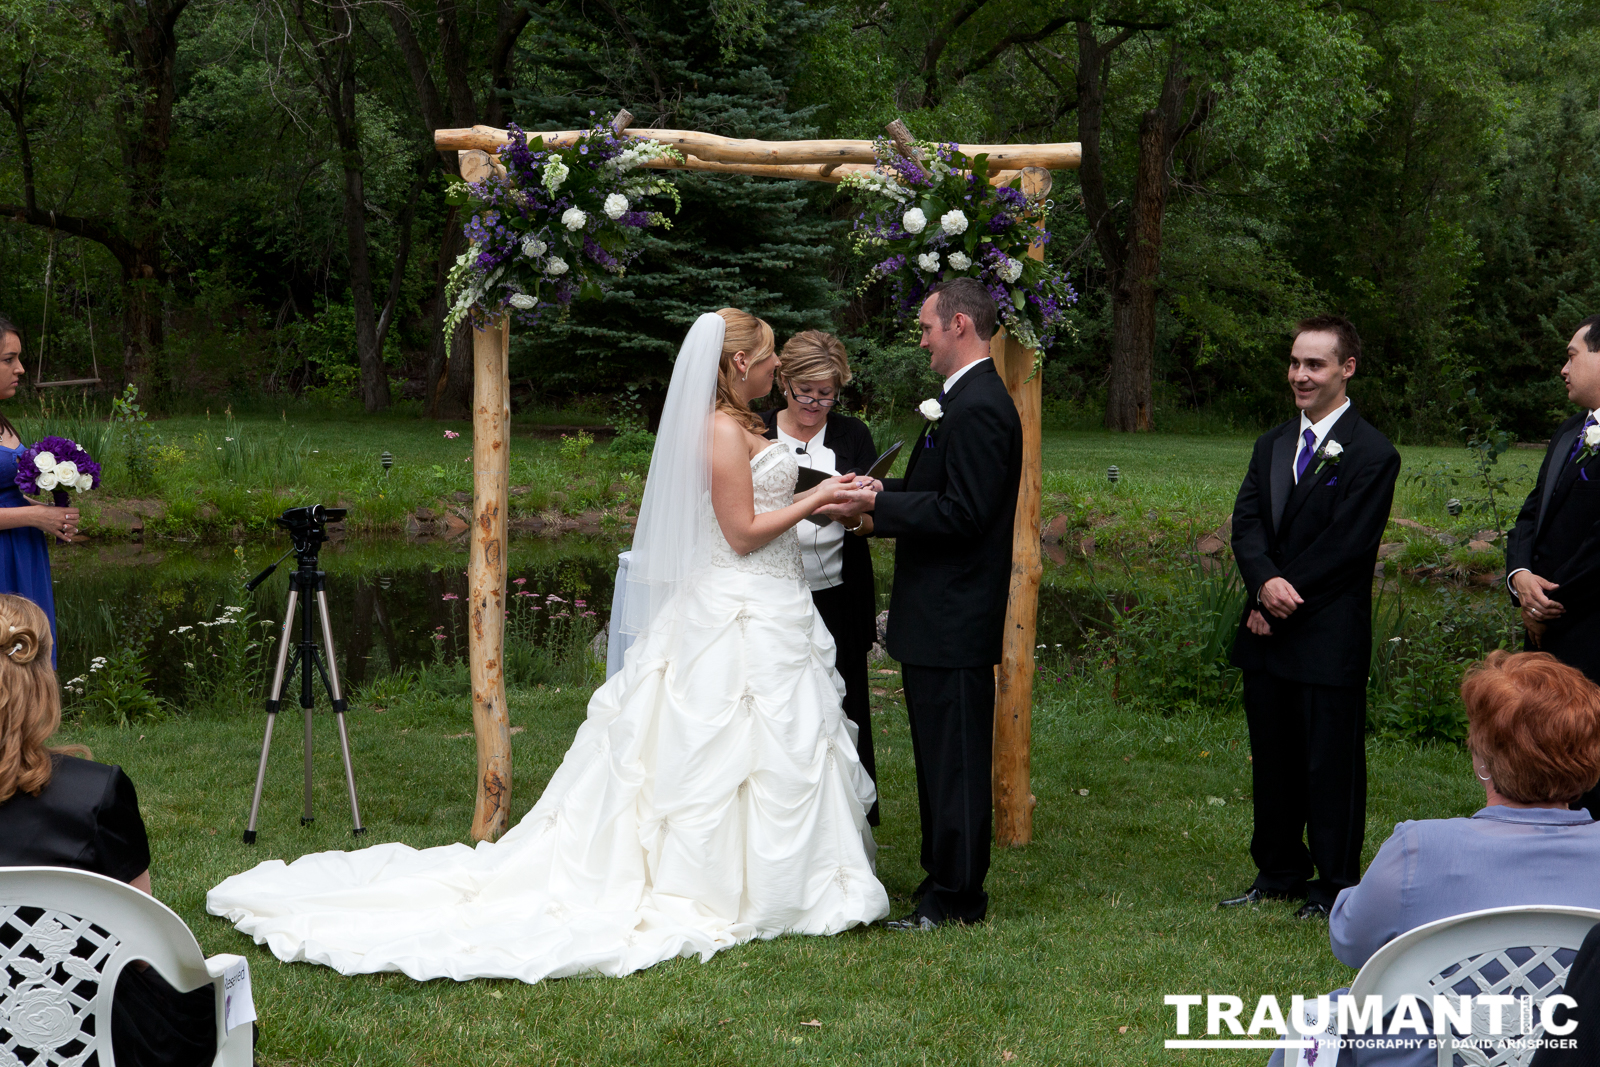
So how did I get rid of it?
Keep in mind that this is one of my first big edits like this. It was new to me at the time, and I tried several methods. The first was using the cloning tool in Photoshop to try to use areas around it to remove it. That worked for smaller parts, but for larger sections, it simply looked terrible.
I did a little research on the web and found some suggestions using copy and paste techniques, but those too looked awful. Then I hit on a combination of tools.
The first is the lasso tool. Using this tool, I would outline the area of the tripod that i wanted to remove. I would then drag that outline to the nearby areas looking for a match that lined up to cover the tripod. For example, along the edge of the pond I would find a space that I could copy with the lasso outline that I then pasted over the part of the tripod I was removing.
The sections sticking into the pond and on the grass were the easiest to do because I simply copied and pasted a section of the pond or grass over that section of tripod. Finding pieces to match up to the banks was more difficult. The reason is that each pasted piece has a border you still have to deal with.
That brings us to the next critical tool, The patch tool. I should back up here and note that a critical step in this process is to create a duplicate layer of the original image to work with in case you really screw this up.
Once you have pasted in the pieces you are using to cover up the item, you are going to want to do two steps. The first is to hide the layers you want to keep and leave only the ones you are working with. Now you merge the visible layers. This is where the patch tool comes in. Using it you highlight the edges of the pasted piece that you have merged into the image and then use the surrounding areas to patch that hard edge and make it match the rest of the image. It works great for me. As you copy and paste in new areas you simply repeat these steps until the image looks clean to you.
The image below is the result of my following these steps.

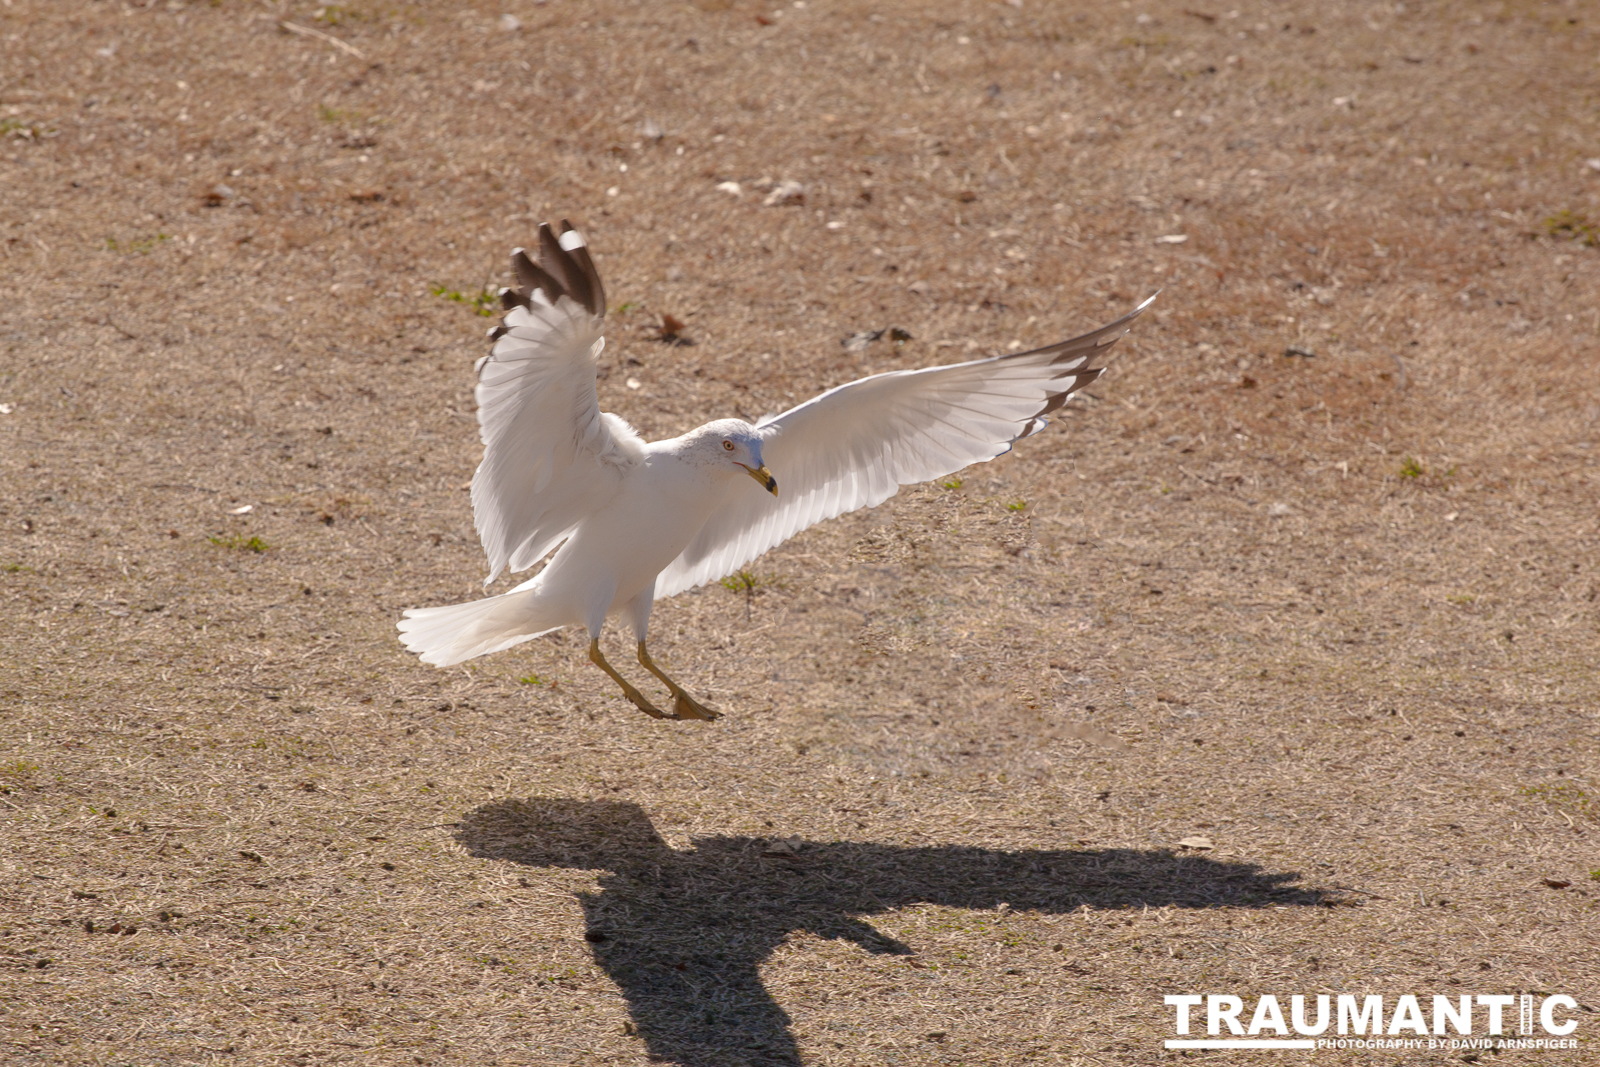
I thought I would provide one more example. I had this great image of a seagull landing, but there was a second bird behind it that wrecked the shot. I went to work fixing it using the techniques above.
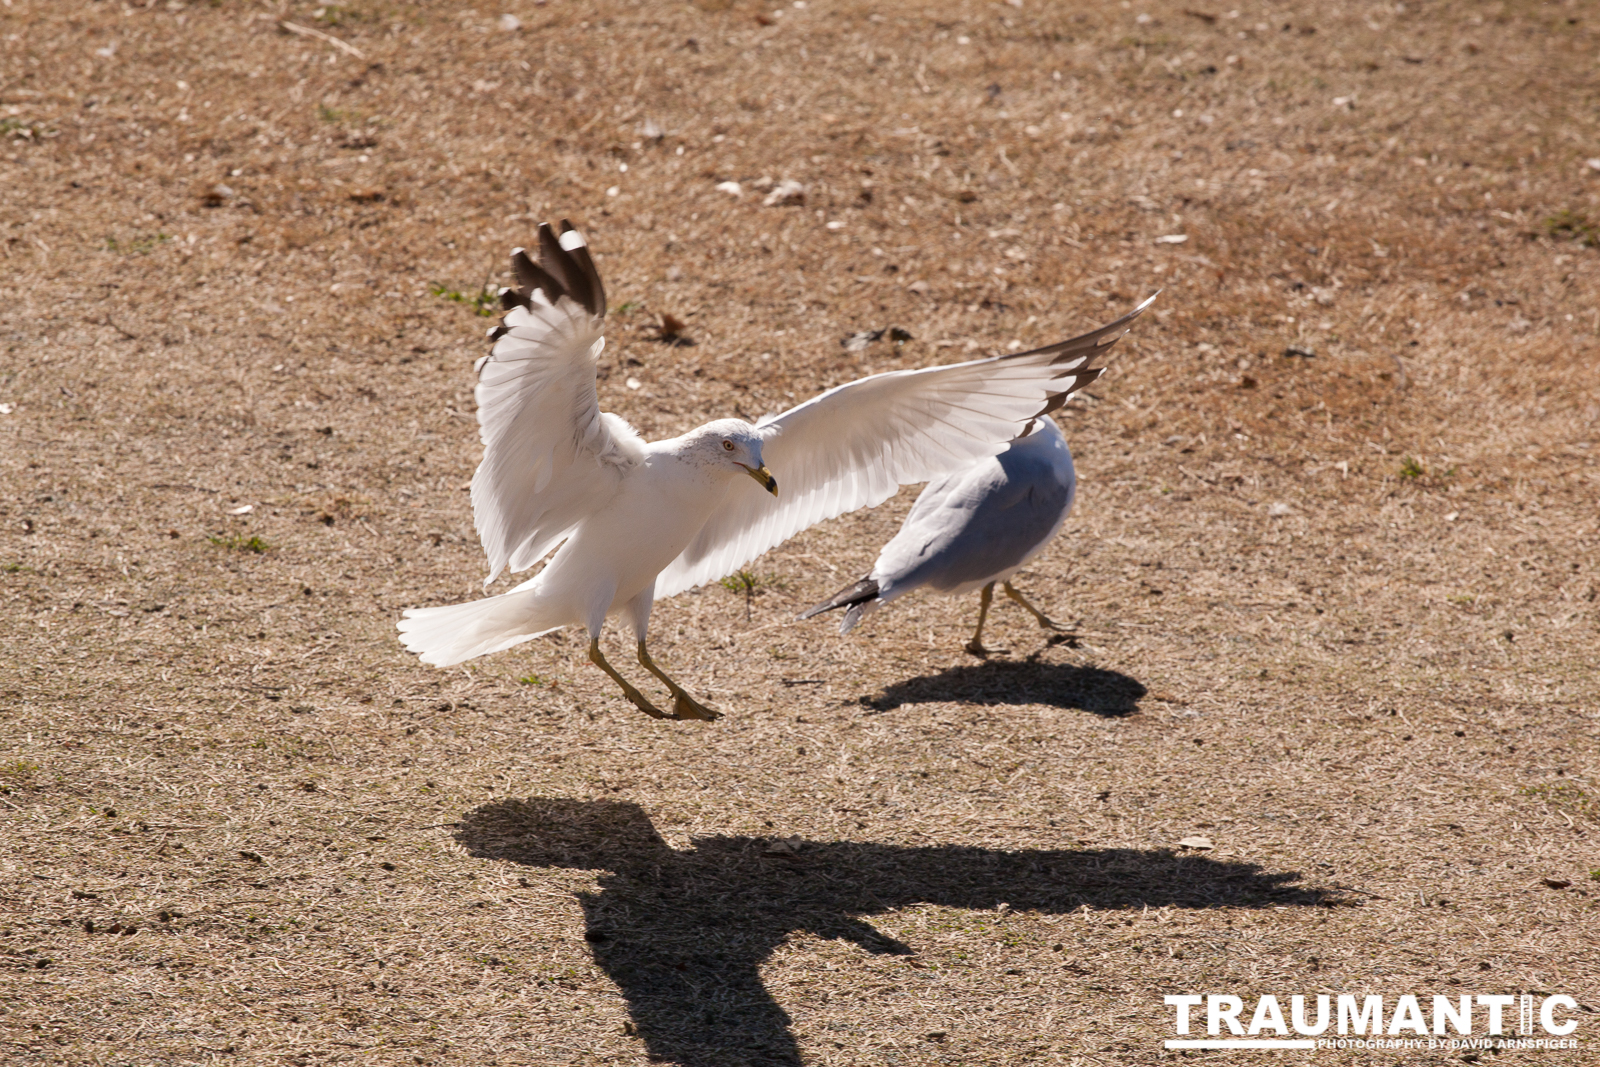
After an hour or so of work, I had this final image which is one of my favorite bird shots.
One topic I want to address is the subject of edited reality. A lot of people seem to get bent out of shape when an image doesn't reflect the real moment. I say it depends on the situation. If I had edited the wedding picture and made my son Brad Pitt, then sure, I can see where the image is a misrepresenation of reality. However, I don't see removing an eyesore like a tripod as a problem.
For the bird photo, there is more of a case that it is wrong because the change removes something from the image that was a more direct part of the original scene. While I would never enter it into a photo contest as an original image, I believe that the edit makes for a more beautiful image to share with the world. If you have an opinion on the subject, drop me a line sometime.
I realize there are probably numerous other techniques to do this, but this one works for me. If you have a better way, please let me know. I am always open to learning new tricks.